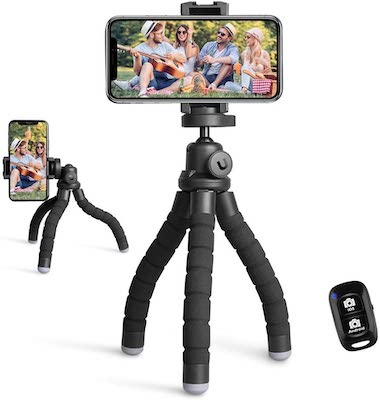
Keeping the camera still while shooting frames for stop motion animation is paramount. There are several ways to do this inexpensively. The most obvious is to use a tripod. Smaller tabletop tripods may be an option, depending on your scale and what camera you are shooting with. When shooting with a smartphone, an additional piece that needs to be bought is a tripod mount.
Mounts for mobile devices range from free to very inexpensive.
Free
This is a tablet holder that is made from a piece of cardboard.
https://www.instructables.com/Cardboard-iPad-Stand
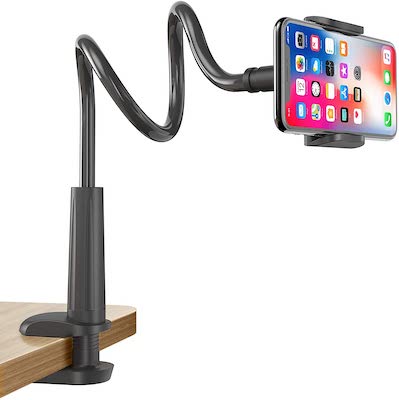
This one is flexible, which gives you more options to shoot with.
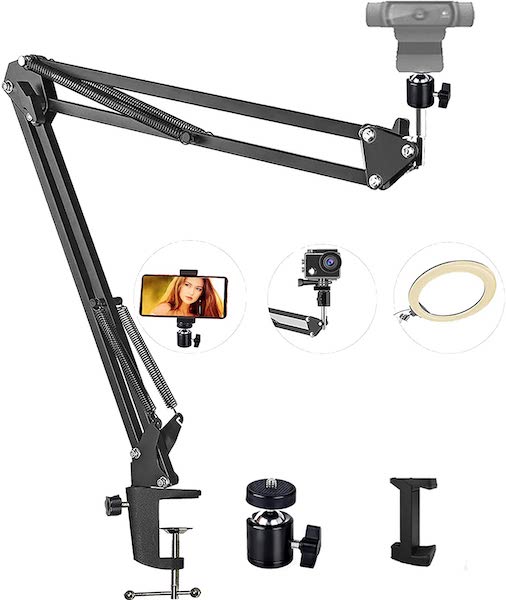
Microphone stands can be used as well. Both desktop and floor boom microphones lend a lot of flexibility to shooting. However, care has to be taken not to bump into them. For top-down shots they are particularly useful. In addition to the stand, the other necessary item is a microphone to camera adapter. While they mostly work OK, occasionally the set screw can get out of alignment with these. To fix this, turn them with the microphone mount threaded part is facing up, completely loosen the set screw, move the ball head so that it is centered, and put the set screw back in.
For years, I have used a camera rig that is made of a desktop architect’s lamp and some 3D printed parts. It’s a great, inexpensive solution that gives a lot of flexibility. I’m including directions below on how to make your own, but it should be noted that there is now a pre-made one available as well.
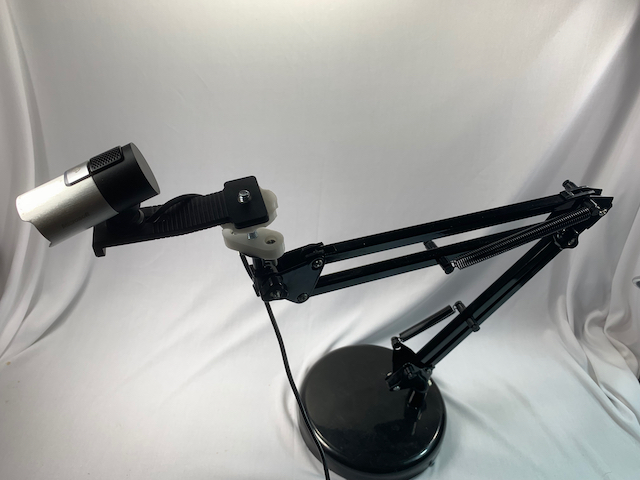
First you will need a inexpensive architect’s lamp. I buy mine at Walmart.
Remove the lighting assembly from the arm itself by removing the two screws that hold it in place. Take pliers and bend the metal mount so that it is now flat, not curved. Using wire cutters, cut the cord going into the lamp. It you want to recycle the lamp part for some purpose, make the cut far enough down that you can then splice the two pieces of electrical cord back together. Pull the cord free from the lamp – there are plastic clamps at the points where the lamp bends that may have to be loosened with a flat-tipped screw driver, or needle nose pliers.
The 3D printed parts can be found on Thingiverse. There are two versions of the kit that can be bought. I use the simpler “Straight Camera Mount”. There are two pieces – the lamp adapter (Lamp Adapter.STL) and the tightening knob (Camera Knob.stl). I ordered the parts 3D printed, and am happy with the results. You will also need to go to the hardware store and buy 8-32 x 3/4 bolts x 2 (6-32 will work too) and nuts, plus
1/4 x 2 1/2″ hex head bolt and nuts – for the tightening knob on the joint.
The nuts for the tightening knob may not fit tightly into the indented place of the 3D printed knob. I use a very small amount of superglue to hold them in place. Be careful to not get glue on the threads. If you do (and it is likely a little will seep in) let the glue harden, and then work a bolt back and forth through the knob until is is loose enough to be hand-tightened.
The lights come with a total of 4 springs to add tension. I remove one spring at each bending point on the lamp.